Pajama Pants and matching appliqued top


This is my handsome boy, Canaan, modeling pajama pants and a matching appliqued top. This is my first tutorial so let me know if anything is unclear.
Materials:
1/2 yd of main fabric
1/8 yd of coordinating fabric
1 yd of ribbon
matching thread
plain white t-shirt
lightweight interfacing
Instructions for Pajama Pants:
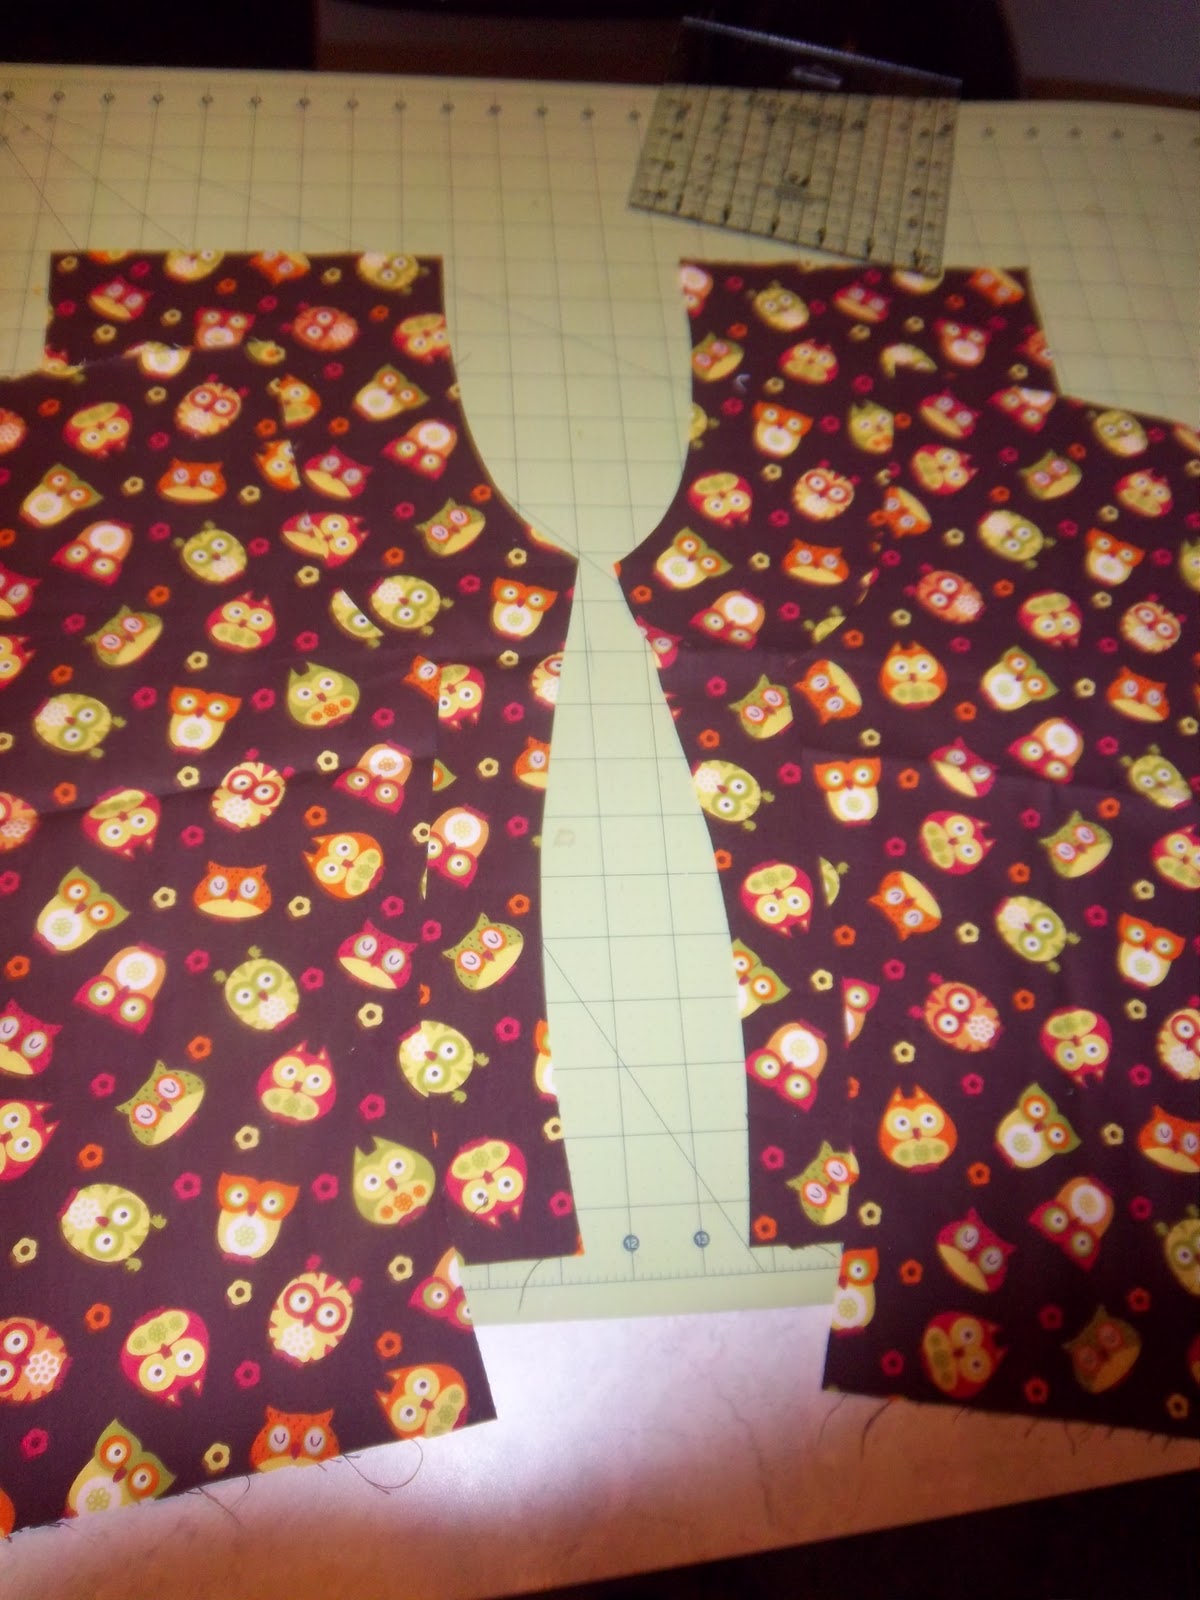
Step 1:
Use the pants as a template by folding them in half and cutting 1/2 in around the edges.
Cut 2 with the crotch facing left and 2 with the crotch facing right. This is automatically done by just doubling fabric while cutting.

leave it a little short at the end so we can add our coordinating trim.
cut 4 of these
Step 2:
cut coordinating fabric for trim and casing for our ribbon


Cut 4 rectangles equal length as the bottom edge of pants and about 3 inches in width.
Cut 2 rectangles for the casing by overlapping two panels of the pants together until the middle seams meet,then cut coordinationg fabric the length of the two panels put together and about 4 inches in width.
Step 3:
Ironing the pieces that have been cut
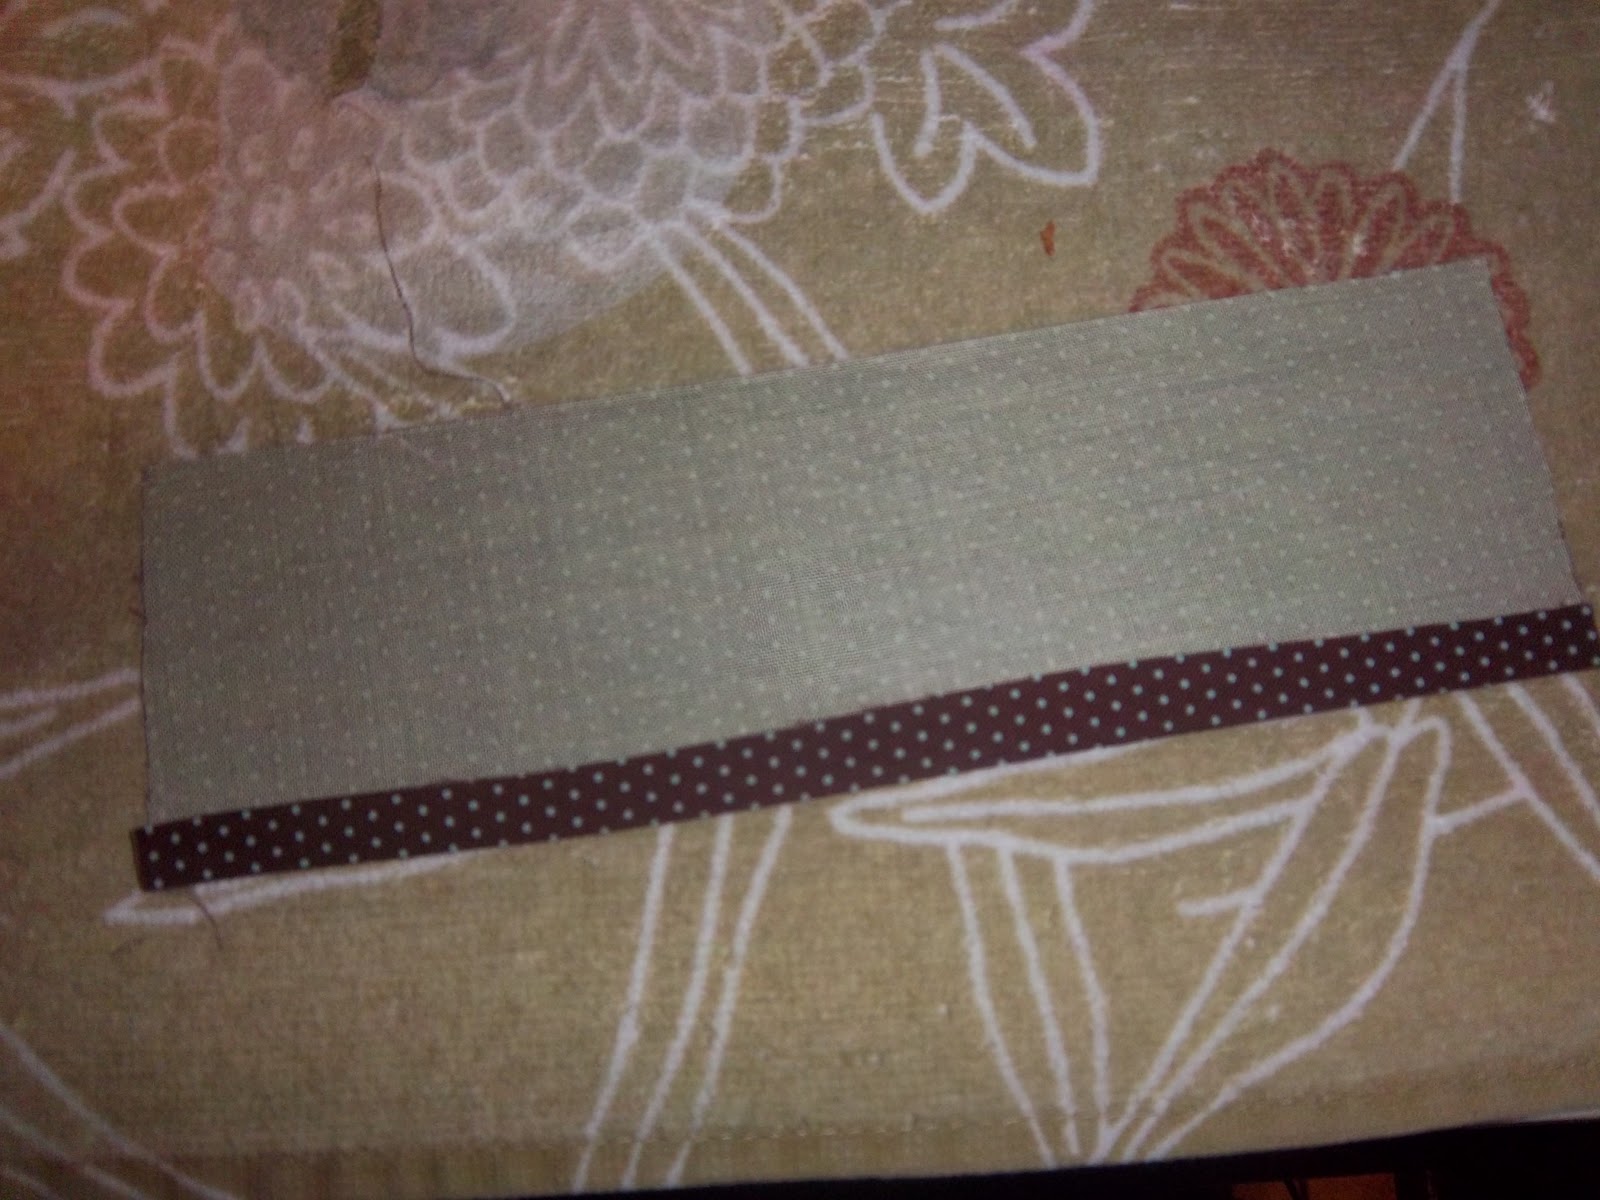
Iron over 1/4 in on all 4 trim pieces

then fold over again 1/4 in to hide the selvege edge.
For the long casing pieces. Fold and iron 1/4 in on both sides, we will use this as a sewing guide to make it easier, then fold the entire piece in half length ways.
Step 4:
Gather your things and lets sew!


take one pant leg and one trim piece, place them right sides together and sew a 1/4 in seam

then either serge the seams or do a zig zag stitch
Do this on all 4 pieces. Iron the seam.
Then sew the bottom fold down with a 1/4 in seam.
Step 5:
Place 2 opposite pant pieces, right sides together and sew just the crotch seam with a 1/4 in seam.


Zig Zag stitch the selvege edge.
Repeat with the other pieces.
Step 6:
Place the panels right side together, pin, and sew down both sides of pant legs and the inside of pant legs with a 1/4 in seam .
Zig zag stitch the selvege edge.


turn pants right side out and iron.
Step 6:
Unfold casing pieces. pin right sides together and sew on both ends with a 1/4 in seam.
Pin right side of casing to inside (wrong side) of pants. Sew together with a 1/4 in seam.

(optional) zig zag stitch the seam.
Step 7
add button holes for our ribbon to enter and exit. Follow your instructions that came with your sewing machine for sewing button holes.
Mark on the part of casing that will be facing forward, where you want your buttonholes placed.
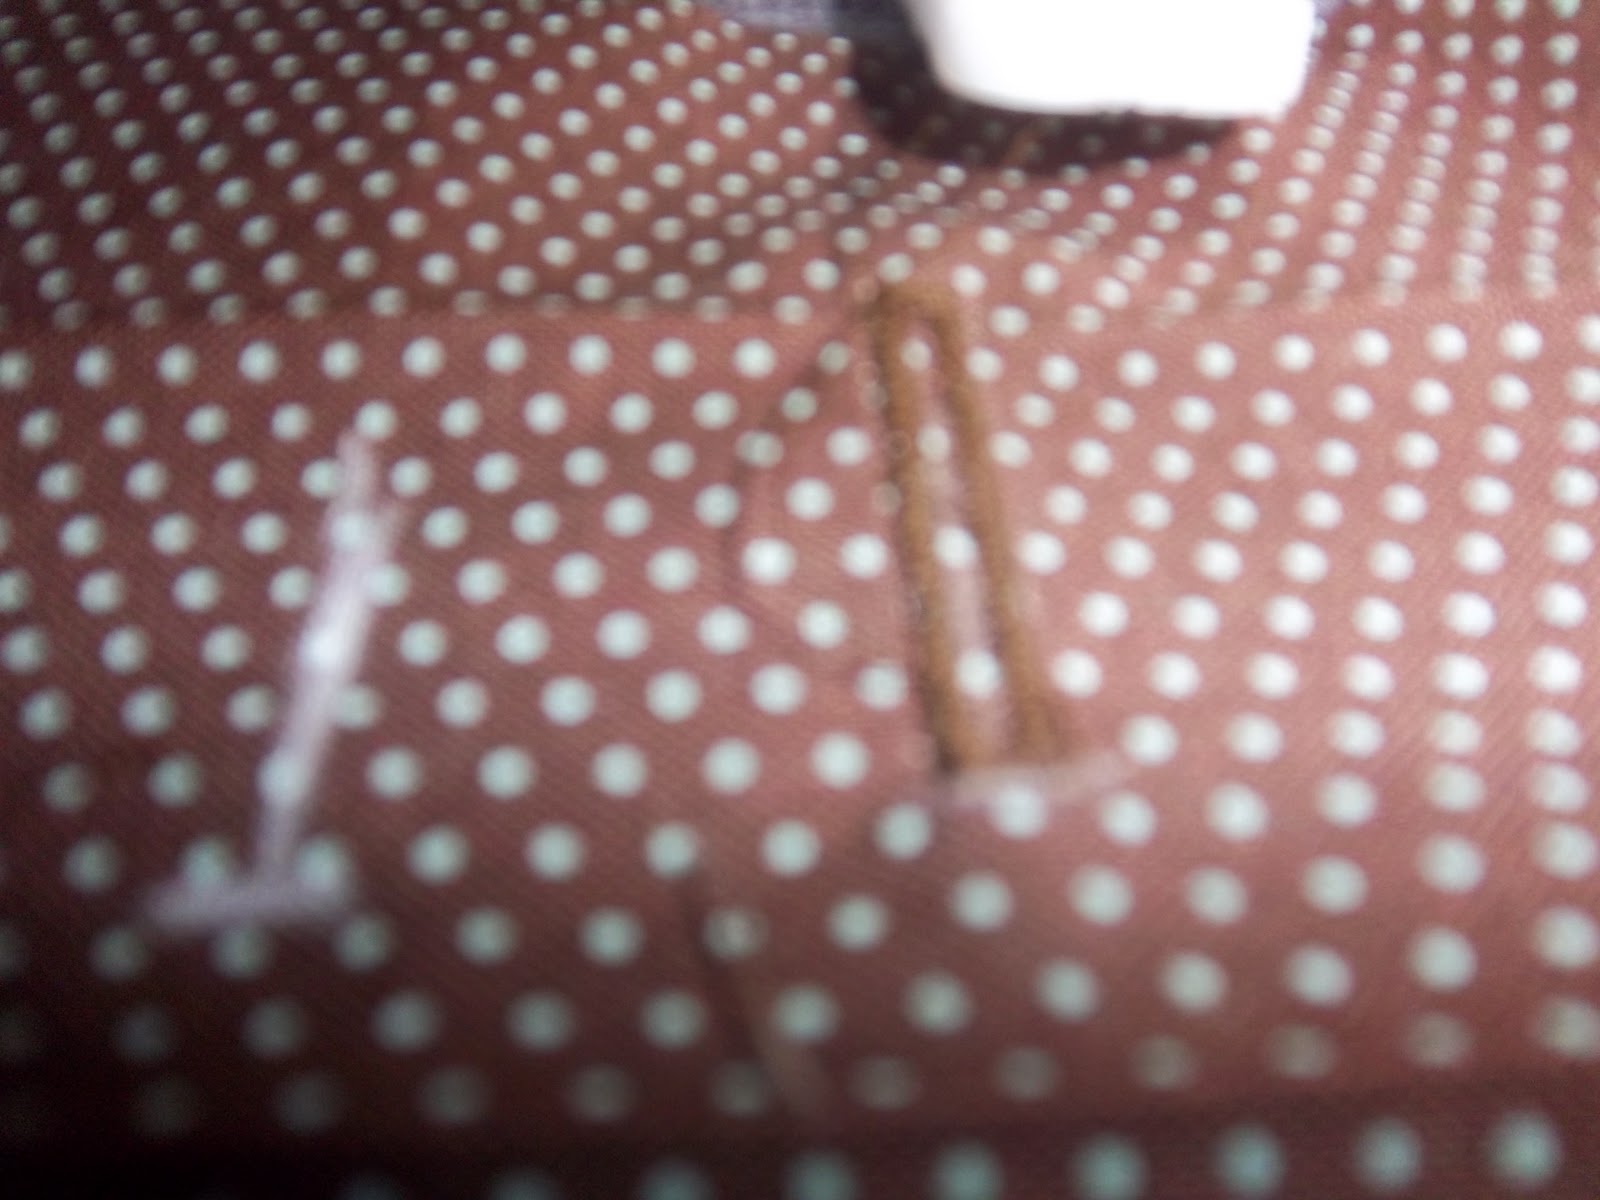

cut down the middle of both holes using a seam ripper (make sure not to cut the thread)

you can use Fray Check or hold a flame over the threads for a few seconds, for stray threads
Step 7:
Fold the casing over, pin and sew close to the edge.


Step 8:
fold ribbon over twice and sew


place a saftey pin on the end of your ribbon and fish through to the other opening.
Yay! We are done!

how cute!
Appliqued t-shirt
step 1:
using the same fabric we used on the pants and a lightweight interfacing cut a circle and the letter of your childs name.

Iron on the interfacing on the back of cut outs and on the inside of the t-shirt where you plan to place the applique.
Step 2:
Pin and sew onto shirt. I used a zig zag stitch on the bottom circle and a straight stitch on the letter. But be creative.


carefully remove the interfacing on the inside of shirt.
And your done!
please let me know if this was helpful! thanks for looking
Leah
No comments:
Post a Comment